Introduction
Properly removing your Xbox 360 hard drive is essential if you want to upgrade your console or fix potential issues. The hard drive is the main storage unit, holding everything from game saves to downloaded content. Knowing how to remove it safely allows you to expand your console’s capabilities and solve hardware problems efficiently. This guide provides clear and straightforward instructions on how to tackle this task with minimal risk.

Understanding Your Xbox 360 Hard Drive
Before removing the hard drive, it’s beneficial to understand its types and purposes. Xbox 360 models feature different hard drive options, typically ranging from 20GB to 500GB, depending on the model. These drives are critical for storing games, apps, and updates. Knowing your hard drive’s specifics can help you choose a compatible upgrade or anticipate limitations.
Original Xbox 360 consoles have detachable hard drives on top. In contrast, Xbox 360 S and E models have the drives in a compartment on the side. This positioning affects how you’ll approach removal and reinstallation.
Tools and Preparation Needed
Preparation is crucial for a smooth removal process. Gather these essential tools and complete the necessary steps:
– Tools:
– A clean, flat surface for work
– A small screwdriver (if model requires it)
– A soft cloth to protect surfaces
– Preparation Steps:
1. Back up all game data to avoid loss. Use cloud storage or a USB device.
2. Power off and unplug your Xbox 360 from any electrical outlets.
3. Eject any discs to prevent damage during removal.
With your setup ready, you are now set to remove the hard drive.
Step-by-Step Guide to Removing the Xbox 360 Hard Drive
Removing the hard drive from your Xbox 360 is straightforward with the right approach. Follow these precise steps for a hassle-free removal:
Powering Down and Unplugging Your Xbox 360
- Ensure your Xbox 360 is completely powered off. Hold the power button until the console shuts down.
- Unplug all power cables and detach connected peripherals like controllers or external drives.
Locating the Hard Drive Slot
- For Xbox 360 Original models: Find the hard drive on top of the console. It should be clearly visible and detachable.
- For Xbox 360 S and E models: Identify the compartment on the side. You may need to press a latch or button to open it.
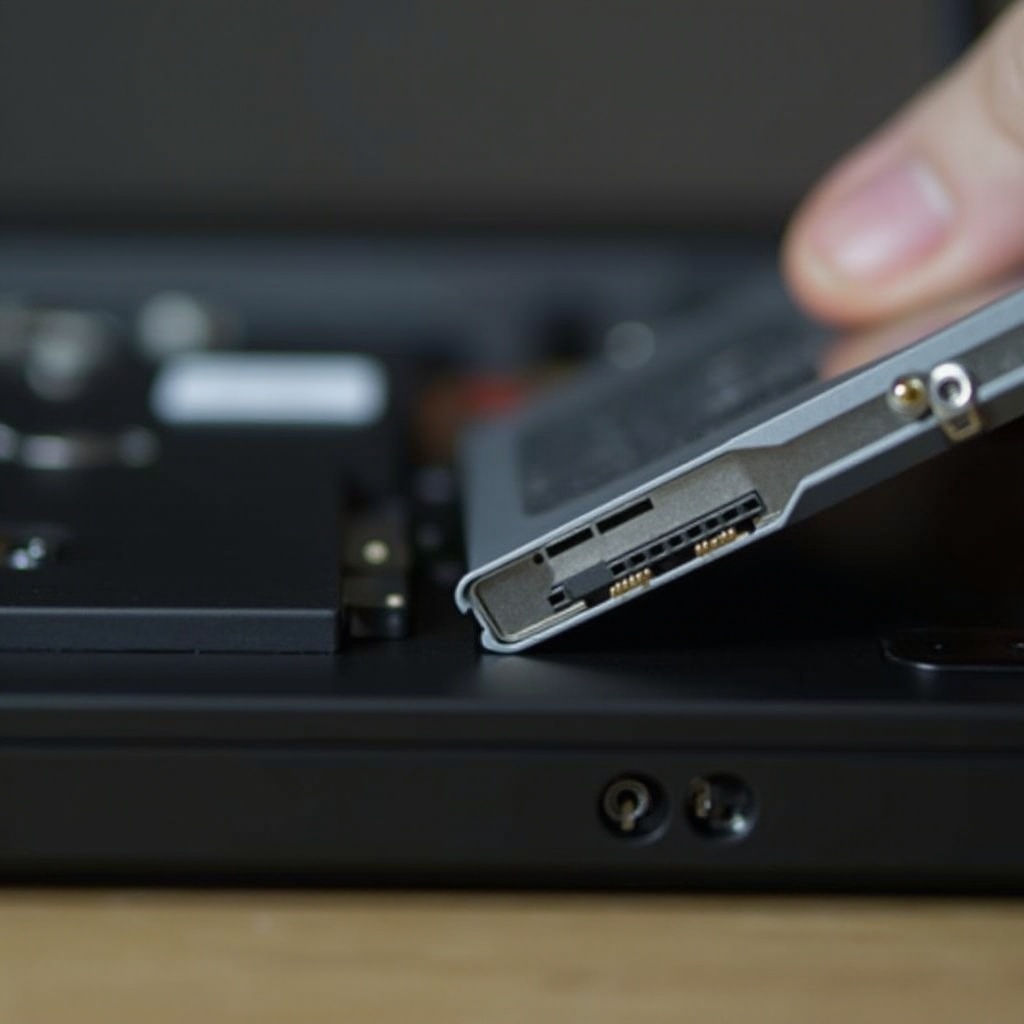
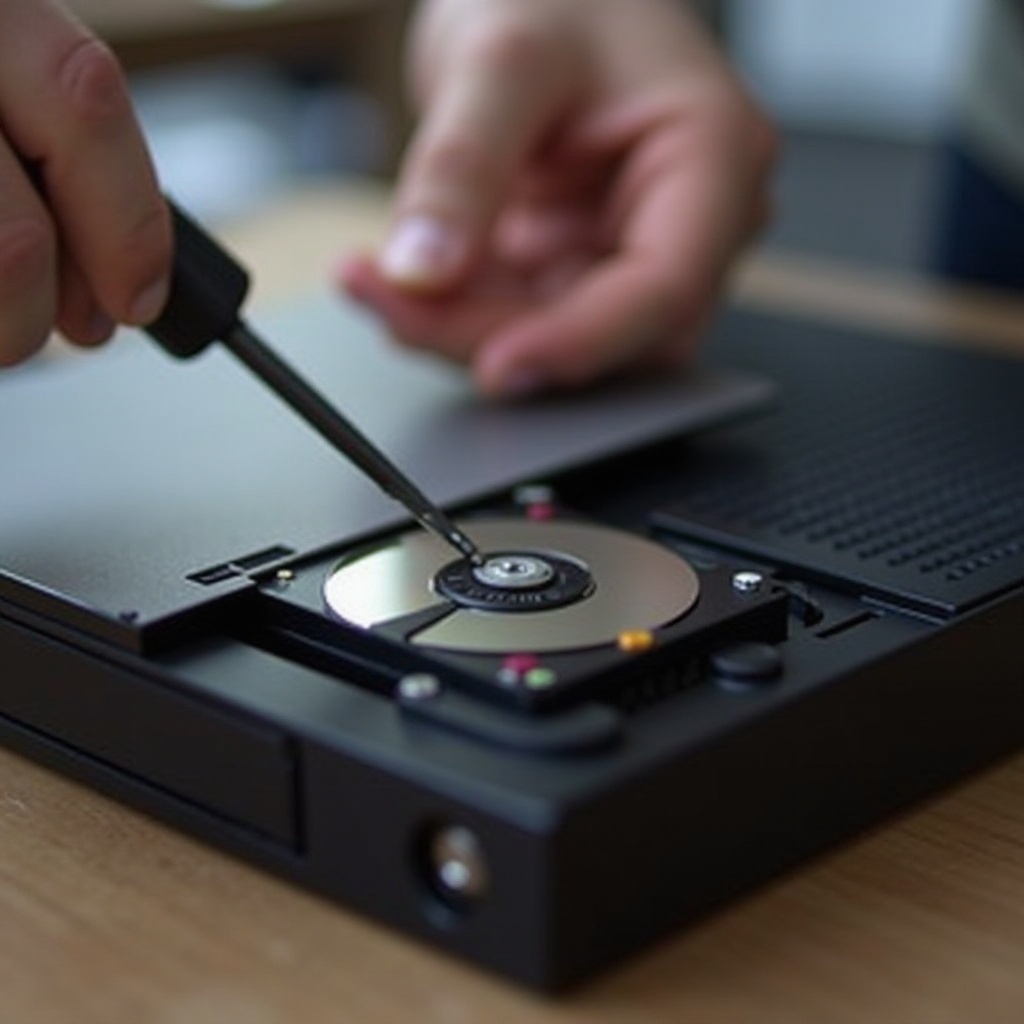
Safely Detaching the Hard Drive
- Press the release button on the hard drive to detach it from an original model. For S and E models, pull the drive out after opening the compartment.
- Handle the hard drive with care, setting it on a soft cloth. Avoid touching connectors to prevent damage.
Now that you’ve successfully removed your hard drive, let’s address common issues you might encounter.
Troubleshooting Common Issues
Sometimes, issues can arise even with careful preparation. Here’s how to resolve typical problems:
– Stuck Hard Drive: If it won’t budge, don’t force it. Ensure all release mechanisms are fully engaged, and consult the manual for additional guidance.
– Drive Not Detachable: Double-check that you’re working with the correct area. Consult your manual’s diagram if needed.
Anticipating these challenges means you can address them calmly without damaging your console.
Tips for Successfully Replacing and Upgrading Your Hard Drive
After removal, you may want to replace or upgrade your hard drive. Here’s how to proceed:
1. Choose the Right Hard Drive: Ensure the replacement is compatible with your Xbox model. Official Xbox drives are recommended.
2. Back Up Data: Before installing a new drive, make sure all data is backed up safely using cloud storage or an external device.
3. Install Properly: Align the new drive carefully and insert it, ensuring all connections are secure. Close any latches or covers on models with compartments.
Replacing your hard drive can rejuvenate your console, improving performance and offering more storage.
Conclusion
Removing an Xbox 360 hard drive is a manageable task with the right tools and understanding. Following this step-by-step guide allows you to conduct routine maintenance or upgrades, ensuring your console remains in optimal condition. By maintaining your Xbox, you can continue enjoying its full potential for years to come.
Frequently Asked Questions
What should I do if the hard drive is stuck?
Ensure that all clips and latches are fully disengaged and avoid using excessive force. Refer to the manual for specific troubleshooting tips for your model.
Is it safe to use a third-party hard drive?
While third-party drives can be cost-effective, they may pose compatibility issues. Using Xbox-specific hard drives is recommended for optimal performance and data safety.
How can I back up my game data before removing the hard drive?
Use Xbox’s cloud storage options or transfer your data to an external USB device to safeguard your saved data before proceeding with hard drive removal.